Understanding Light in Art
Before you can paint light realistically, you need to first understand how it works. Whether you’re painting from life or imagination, light behavior influences every element of your composition from form and color to mood and depth.
The Basics: What Every Painter Should Know
Learning to depict light begins with a few foundational concepts. These will help you interpret what you see and recreate it convincingly on canvas:
Light travels in a straight line unless deflected by surfaces or materials.
Every object hit by light casts a shadow, helping define its form and position in space.
Highlights and shadows create contrast, which adds three dimensionality to your subject.
Color changes in response to light intensity and temperature, influencing how you mix and apply paint.
Know Your Light Types
Understanding different types of lighting can drastically improve your realism. Each type affects how forms are perceived and how shadows are cast:
Direct Light: A focused light source, like the sun or a spotlight. Creates strong contrasts, sharp shadows, and vibrant highlights.
Ambient Light: A soft, diffused light that comes from multiple directions. Think overcast days or light bouncing around a room. It softens shadows and mutes color.
Reflected Light: Light that bounces off surrounding surfaces and subtly illuminates the shadowed side of objects. It adds complexity and realism when used correctly.
Natural vs. Artificial Light
Recognizing the difference between natural and artificial lighting can help you plan your color palette and tonal structure:
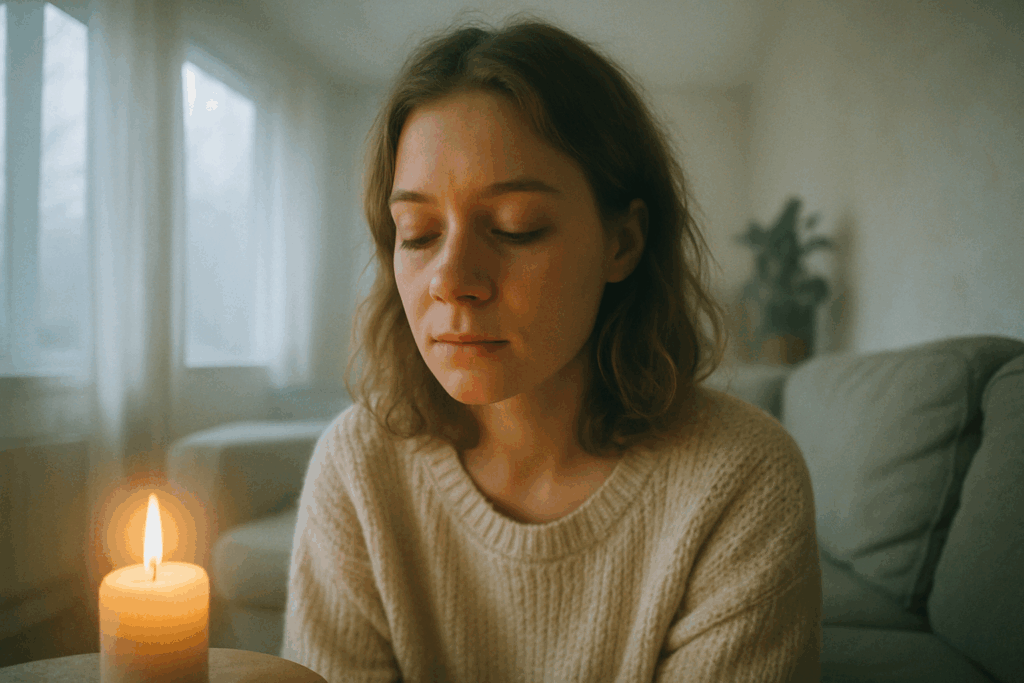
Natural Light (like daylight or moonlight): Constantly changing in color temperature and angle throughout the day. Tends to be cooler in shadows and warmer in highlights.
Artificial Light (lamps, bulbs, etc.): Typically fixed in quality and direction, often warmer or more dramatic depending on the source. Can help create stylized moods or consistent lighting in studio work.
Both types of lighting are valid and useful, but knowing when and how to use them will elevate your realism and storytelling as a painter.
Observing Before Painting
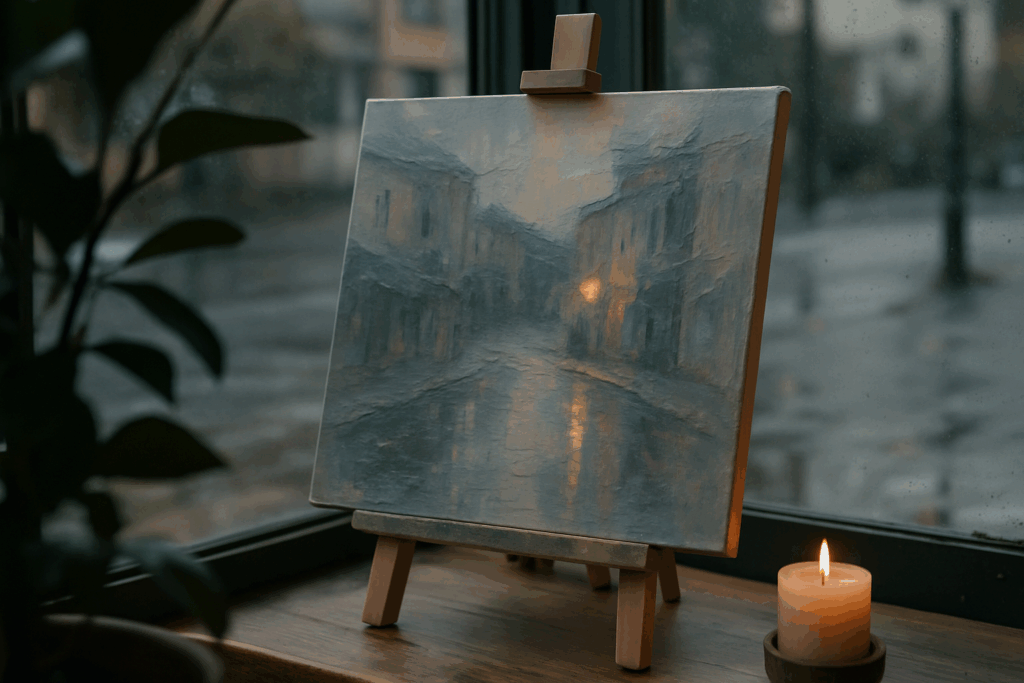
Seeing light clearly is simple in theory, hard in practice. It’s not just about looking it’s training your eyes to notice patterns most people ignore. Start by watching how light moves across surfaces at different times of day. Pay attention to where it falls strongest, and where it fades. Identify the brightest highlight, but also the soft transitions and those tricky mid tones. Shadow doesn’t mean black it holds color, shape, and sometimes even subtle texture.
Next, tune into light temperature. Warm light leans yellow, orange, even pink. Cool light drifts into blue, green, or violet. A morning sun will warm a shoulder differently than an overcast day in winter. Start matching what you see with the temperature of your paint. Don’t let your instincts autopilot you into coloring all shadows as cold or all light as white it rarely works that way.
Beginners often misread these cues. A common mistake is over contrasting shadows or flattening them into voids. Another is ignoring bounced light when a color from one object subtly tints nearby surfaces. And don’t treat photos as perfect truth; cameras lie. Shadows get crushed. Color balance skews. Real observation, not filtered photos, will make you a better interpreter of light.
This kind of seeing takes time. But like anything in art, time and practice sharpen the eye. Keep studying the world before you touch the brush.
Essential Techniques for Realism
Let’s be clear: painting light realistically isn’t about tricks. It’s about stacking fundamentals. First off, value does the heavy lifting. Forget color for a moment if your value structure isn’t solid, your light won’t read. Layering values means starting with your midtones, building out your lights and darks gradually. Don’t try to land the final contrast in one go. Depth comes from patience, not shortcuts.
Next, edges. Soft vs. hard is about more than style it’s the difference between light wrapping gently across a cheekbone or breaking sharply across the edge of a window. Pay attention to how fast light transitions. A soft edge suggests subtle form shifts or ambient diffusion, while a hard edge shows a sudden change structure, shadow, or direct glare. Knowing how and where to place these is half the realism battle.
Then there’s glazing. It’s not just an oil painting gimmick. Transparent layers over dry paint can shift hue, soften contrast, or build subtle effects like haze or glow. If your lighting feels flat, a few strategic glazes can help push atmospheric depth without reworking the entire piece. Used smartly, it becomes a tool to yield more with less effort.
Bottom line: realism in lighting isn’t one move. It’s a series of small technical decisions made with intent.
Tools and Materials That Make a Difference
Painting light realistically starts at the materials table. Not all paints are built the same transparency and temperature are key players here. Transparent pigments let the light bounce back through the layers, creating glow and subtlety. Think quinacridone reds, phthalo blues, or Indian yellow. Opaque colors have their place too, but stacking transparent colors is how you get that depth that feels lived in, not painted on.
Next, don’t underestimate the power of a toned canvas or underpainting. That mid tone base gives you an anchor for highlights and shadows. It speeds up the light balancing act and knocks down the harshness of a white background. Warm tones like burnt sienna or cool grays can both work it depends on your scene’s lighting mood.
And when it comes to brushes, you want control with enough flexibility to blend. Flat synthetics work well for soft transitions. Fan brushes can gently smooth edges without killing form. Dry brushes let you feather light where needed. The main thing is subtlety light doesn’t slam into forms, it wraps and shifts.
You can’t fake good tools. But you don’t need a hundred brushes or a luxury palette. Just pick materials that help you build slow, believable light layer by layer.
Practice Exercises That Build Skill
If you’re trying to paint light realistically, start with the basics: limit your variables. Set up a simple still life something as minimal as a white mug on a dark cloth with a single light source. A desk lamp works fine. This lets you see how light behaves without distractions. Where it hits. Where it drops off. How shadows bloom and edges soften.
Another solid exercise? Paint from black and white photo references. Stripping out color forces you to see value the backbone of good lighting. Pay close attention to the darkest darks and the lightest lights. If the value structure is solid, the lighting will read.
Lastly, use tools to check your progress. Flip your painting and your reference in a mirror. Display it in grayscale on your phone. These tricks help break your brain’s “I think it looks right” loop and show you what’s really working (or not). Accuracy in light starts with accuracy in value. No shortcuts here just deliberate reps.
Inspiration and Study
One of the fastest ways to level up your understanding of light is to steal from the pros not literally, but by studying how master artists make light work for them. Look at painters like Joaquín Sorolla for sun drenched realism, John Singer Sargent for his handling of soft indoor illumination, or digital painters who build entire moods with rim light and bounce. Whether they’re working in oil, watercolor, or pixels, they all wrestle with the same problem: how to make light feel like it’s actually happening.
Start visiting local galleries or dive into curated archives like ArcyArt’s light focused collection. Don’t just scroll. Ask questions: Where is the light coming from? What edges are lost or found? How does color shift as you move from shadow to highlight?
Believable light doesn’t mean photographic. It means light that plays by consistent rules. Shadows soften with distance. Warm light casts cool shadows. Tiny things like rim light along a cheek or a color shift in a shadow edge tell your brain, “this scene could be real.” Study those details not just what they painted, but why, and where they broke the rules on purpose.
Keep Improving
Improvement doesn’t come from guesswork. Start taking progress shots of your paintings early, middle, and final stages. When you line them up next to work by artists you admire, it becomes easier to see where your lighting feels off. Don’t just look at the finished piece analyze the journey.
Next, build your own library of lighting references. Photograph how sunlight hits your hallway at noon, how lamplight bounces off your desk at night, or how cloudy days cast soft shadows. These real world data points will train your instincts faster than theory ever could.
Finally, get feedback. From real artists, not just your mom. Share work with people who understand form, value, and color and listen when they tell you what’s not clicking. Revision with intent is what separates hobbyists from serious visual communicators.
For more examples, check out ArcyArt’s curated selection of light focused artwork.
 There is a specific skill involved in explaining something clearly — one that is completely separate from actually knowing the subject. Caroline Norfleeters has both. They has spent years working with artist spotlight features in a hands-on capacity, and an equal amount of time figuring out how to translate that experience into writing that people with different backgrounds can actually absorb and use.
Caroline tends to approach complex subjects — Artist Spotlight Features, Cultural Art Events, Gallery Exhibitions and Reviews being good examples — by starting with what the reader already knows, then building outward from there rather than dropping them in the deep end. It sounds like a small thing. In practice it makes a significant difference in whether someone finishes the article or abandons it halfway through. They is also good at knowing when to stop — a surprisingly underrated skill. Some writers bury useful information under so many caveats and qualifications that the point disappears. Caroline knows where the point is and gets there without too many detours.
The practical effect of all this is that people who read Caroline's work tend to come away actually capable of doing something with it. Not just vaguely informed — actually capable. For a writer working in artist spotlight features, that is probably the best possible outcome, and it's the standard Caroline holds they's own work to.
There is a specific skill involved in explaining something clearly — one that is completely separate from actually knowing the subject. Caroline Norfleeters has both. They has spent years working with artist spotlight features in a hands-on capacity, and an equal amount of time figuring out how to translate that experience into writing that people with different backgrounds can actually absorb and use.
Caroline tends to approach complex subjects — Artist Spotlight Features, Cultural Art Events, Gallery Exhibitions and Reviews being good examples — by starting with what the reader already knows, then building outward from there rather than dropping them in the deep end. It sounds like a small thing. In practice it makes a significant difference in whether someone finishes the article or abandons it halfway through. They is also good at knowing when to stop — a surprisingly underrated skill. Some writers bury useful information under so many caveats and qualifications that the point disappears. Caroline knows where the point is and gets there without too many detours.
The practical effect of all this is that people who read Caroline's work tend to come away actually capable of doing something with it. Not just vaguely informed — actually capable. For a writer working in artist spotlight features, that is probably the best possible outcome, and it's the standard Caroline holds they's own work to.